
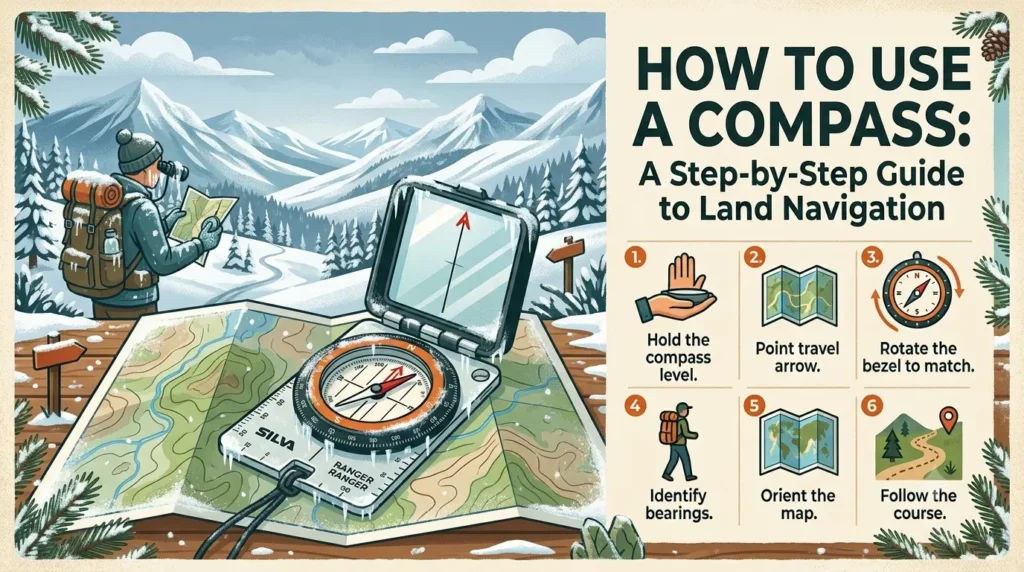
How to Use a Compass: A Step-by-Step Guide to Land Navigation.
Introduction
Understanding the Parts of a Baseplate Compass
┌─────────────────────────────────────────────────────────────┐
│                      BASEPLATE COMPASS                      │
│                                                             │
│       [ Direction-of-Travel Arrow ]    <-- Points to target │
│       │                           │                         │
│       │     ┌───────────────┐     │                         │
│       │     │   Index Mark  │     │                         │
│       │     └───┬───────┬───┘     │                         │
│       │         │   |   │         │                         │
│       │    ┌────┴───────┴────┐    │                         │
│       │   /  Rotating Bezel   \   │                         │
│       │  |  (Degrees 0°-360°)  |  |                         │
│       │  |   ┌─────────────┐   |  |                         │
│       │  |   │ Magnetized  │   |  |  <-- Red points to      │
│       │  |   │ Needle (Red)│   |  |      Magnetic North     │
│       │  |   └─────────────┘   |  |                         │
│       │  | Orienting Arrow |  |                             │
│       │   \  ("Shed")       /   │                           │
│       │    └─────────────────┘    │                         │
│       │                           │                         │
│       └───────────────────────────┘                         │
│              [ Ruler / Scale ]                              │
└─────────────────────────────────────────────────────────────┘
-
Baseplate: The clear, flat plastic base that features rulers and scales along its edges for measuring distances on maps.
-
Direction-of-Travel Arrow: The fixed arrow located on the baseplate that points in the direction you want to walk.
-
Rotating Bezel (Housing): A ring marked with the 360 degrees of a circle (0°/360° for North, 90° for East, 180° for South, and 270° for West).
-
Magnetized Needle: A floating needle inside the housing. The red end points toward Magnetic North, while the black or white end points South.
-
Orienting Arrow: The outline arrow inside the bottom of the compass housing (often referred to as the “shed”).
-
Orienting Lines: Parallel lines inside the compass housing that help line up the compass with the grid lines on a map.
-
Index Mark: The small line located at the top of the rotating bezel that marks the exact degree bearing you read.
Magnetic North vs. True North: Understanding Declination
-
True North (Geographic North): The fixed point at the top of the Earth where lines of longitude meet at the North Pole. Topographic maps are oriented toward True North.
-
Magnetic North: The magnetic point near the Earth’s pole where a magnetic compass needle actually points. This point shifts slightly over time due to movements in the Earth’s core.
-
Declination: The angular difference between True North and Magnetic North for a specific geographic area.
                      True North
                          ▲
                          │    / Magnetic North
                          │   /
                          │  /
                          │ /  Declination Angle
                          │/ ─── (e.g., 12° East)
                          │
How to Adjust for Declination
-
Adjustable Compass: Many mid-to-high-tier compasses feature a small adjustment screw on the housing. Turning this screw sets the orienting arrow to match the local declination offset automatically.
-
Manual Calculation: If your compass lacks an adjustment screw, you must manually add or subtract degrees whenever transferring bearings between a map and the field:
-
East Declination: Map bearing to Field bearing $\rightarrow$ Subtract degrees from map bearing ($M – D = F$).
-
West Declination: Map bearing to Field bearing $\rightarrow$ Add degrees to map bearing ($M + D = F$).
-
How to Take a Bearing in the Field (Without a Map)
Step-by-Step Field Bearing Process
-
Hold the Compass Level: Place the compass flat in the palm of your hand resting against your chest, with the Direction-of-Travel Arrow pointing directly at your landmark.
-
Rotate the Bezel: Turn the rotating bezel ring until the Orienting Arrow lines up directly under the red end of the magnetized needle. A common phrase used by outdoor guides to remember this is: “Put Red in the Shed.”
-
Read the Bearing: Look at the Index Mark at the top of the bezel. The degree number aligned with the mark is your precise magnetic bearing to that landmark.
-
Follow the Bearing: Keep the red needle inside the orienting arrow (“Red in the Shed”) as you walk, keeping the Direction-of-Travel Arrow pointing forward.
How to Navigate Using a Map and Compass Together
1. Place compass edge on map connecting Location A & B.
2. Rotate bezel until orienting lines match map North lines.
3. Adjust for local declination (if not pre-set).
4. Hold compass flat, turn body until "Red is in the Shed".
5. Walk in the direction of the Direction-of-Travel Arrow.
Step 1: Set Your Map on a Flat Surface
Step 2: Plot Your Course Line
Step 3: Align the Orienting Lines
Step 4: Apply Declination
Step 5: Sight Your Path
Field Navigation Matrix & Common Pitfalls
| Scenario / Error | Cause | Corrective Action |
| Reverse Bearing (180° off) | Orienting the wrong end of the needle | Always ensure the RED (North) end of the needle goes into the orienting arrow, not the black/white (South) end. |
| Needle Sticking / Lagging | Compass held at an angle | Hold the baseplate completely level relative to the ground so the needle floats freely. |
| Magnetic Interference | Metal objects near the compass | Keep the compass at least 3 feet away from knives, phones, iron-rich rocks, zippers, or GPS units. |
| Ignoring Declination | Miscalculating True vs. Magnetic North | Double-check local map margins before starting your trek; re-adjust when moving to new geographic zones. |
| Walking Off-Course Around Obstacles | Swerving around lakes or cliffs without tracking | Use point-aiming or triangulation methods (such as sighting a distinct distant tree on the far side of an obstacle) to bypass obstacles cleanly. |
Best Practices for Backcountry Navigation
-
Perform a Pre-Trip Check: Before heading into the backcountry, inspect your compass housing for air bubbles or leaks that could impede needle movement.
-
Combine Tools: Use your compass alongside a paper map, altimeter, and GPS. Never rely on a single navigation tool.
-
Sight Intermediate Targets: Rather than staring down at your compass while walking, pick out a prominent landmark (a distinct boulder or tree) along your bearing, walk to it, and then take another bearing sighting.
Conclusion
What is the difference between True North and Magnetic North?
True North represents the geographic North Pole where lines of longitude converge at the top of the globe. Magnetic North is the point in the Northern Hemisphere where the Earth’s magnetic field points vertically downward, which shifts position over time and is what a compass needle actually tracks.
Why is my compass needle pointing south or jumping erratically?
Erratic needle movement is almost always caused by local magnetic interference, often referred to as “local attraction.” Check for nearby steel equipment, cell phones, radio gear, trekking pole shafts, or high concentrations of iron-bearing rock near your compass.
Do phone compass apps work as well as a physical compass?
While smartphone compass apps use electronic magnetometers and can be convenient for casual use, they depend on battery power, can be disrupted by cold temperatures, and are prone to calibration errors. A physical magnetic compass remains an essential safety tool for outdoor exploration.
How do I adjust my compass for declination manually?
To manually adjust for declination without a built-in adjustment screw, calculate the angle listed on your map margin. For East declination, subtract the declination degrees from your map bearing to get your field bearing; for West declination, add the declination degrees to your map bearing.
“Red in the Shed” is a classic memory aid used to align a compass correctly. It means turning your body or the compass bezel until the red, magnetized end of the compass needle sits directly inside the red outline of the orienting arrow inside the compass housing capsule.